
4. Step-by-Step Instructions
-
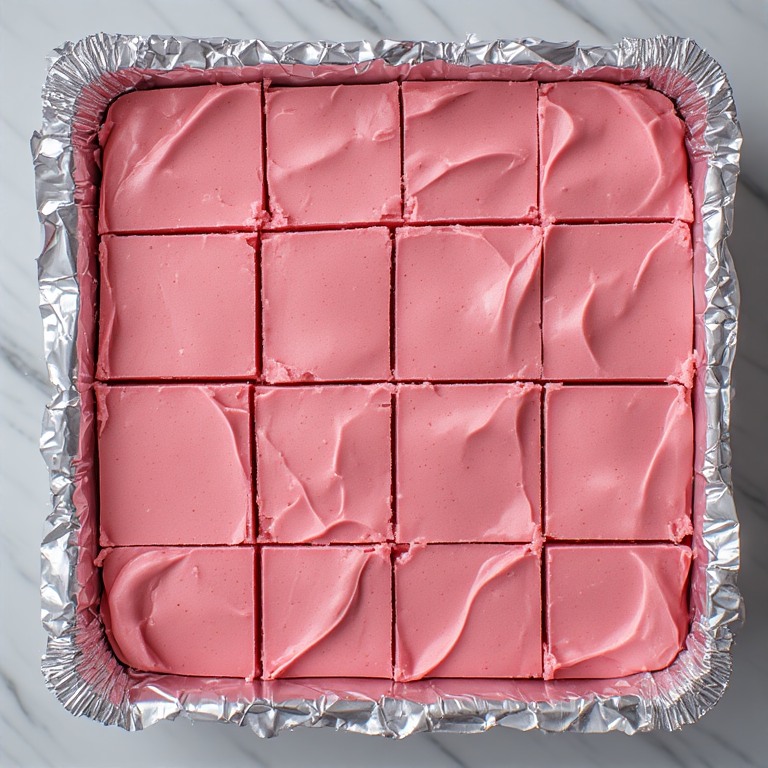
Preparation: Line an 8×8 inch square baking pan with aluminum foil or parchment paper, leaving an overhang on the sides for easy removal.
-
Slow Cooking: Combine the white chocolate chips and the strawberry frosting in the slow cooker.
-
The Melt: Set the slow cooker to Low. Stir every 15 minutes to ensure the chocolate chips melt evenly into the frosting. This should take about 30–45 minutes total.
-
Setting the Pan: Once the mixture is completely smooth and glossy, pour it into the prepared baking pan. Smooth the top with a spatula.
-
Chilling: Refrigerate for at least 2 hours, or until the fudge is completely firm to the touch.
-
Slicing: Use the foil overhang to lift the fudge out of the pan. Slice into 1-inch squares with a sharp, warm knife for clean edges.
5. Alternative Cooking Methods
-
The Microwave Quick-Fix: Combine the ingredients in a microwave-safe bowl. Heat in 30-second intervals, stirring in between, until melted. This takes approximately 2 minutes total.
-
The Stovetop Double Boiler: Place a heat-proof bowl over a pot of simmering water (ensuring the bowl doesn’t touch the water). Melt the ingredients together while stirring constantly for a very smooth finish.
6. Serving and Presentation
The vibrant pink hue of the strawberry fudge creates a beautiful visual on any dessert tray. For the best presentation, ensure the fudge is fully chilled before cutting into uniform cubes. You can garnish with a few sprinkles or a drizzle of melted dark chocolate for a “chocolate-covered strawberry” flavor profile.
7. Culinary Essay: The Science of “No-Fail” Fudge
Traditional fudge relies on creating a specific crystalline structure in sugar through precise temperature control. This “no-fail” version bypasses that complexity by using pre-emulsified fats found in frosting and the stabilizers in baking chips. When these two are combined and heated, they form a super-saturated solution that sets into a semi-solid state as it cools. The slow cooker provides the perfect “low and slow” environment to ensure the fats don’t separate, resulting in the creamy texture seen in your photo.